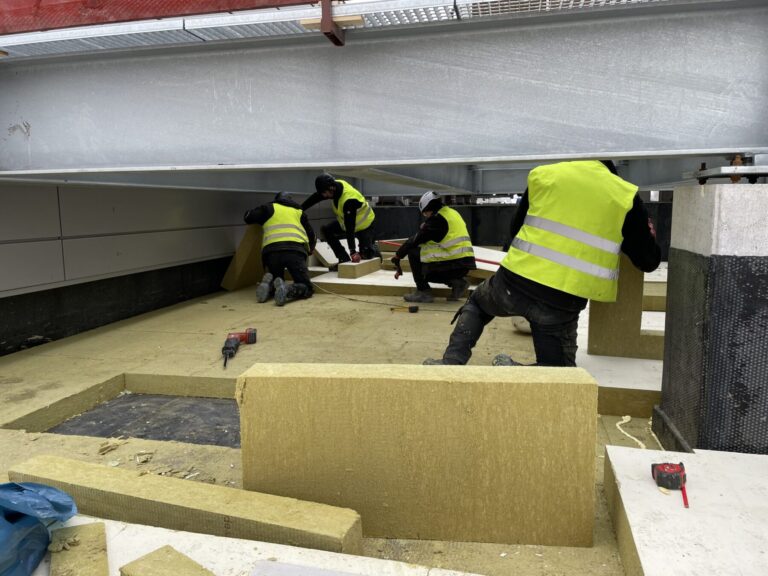


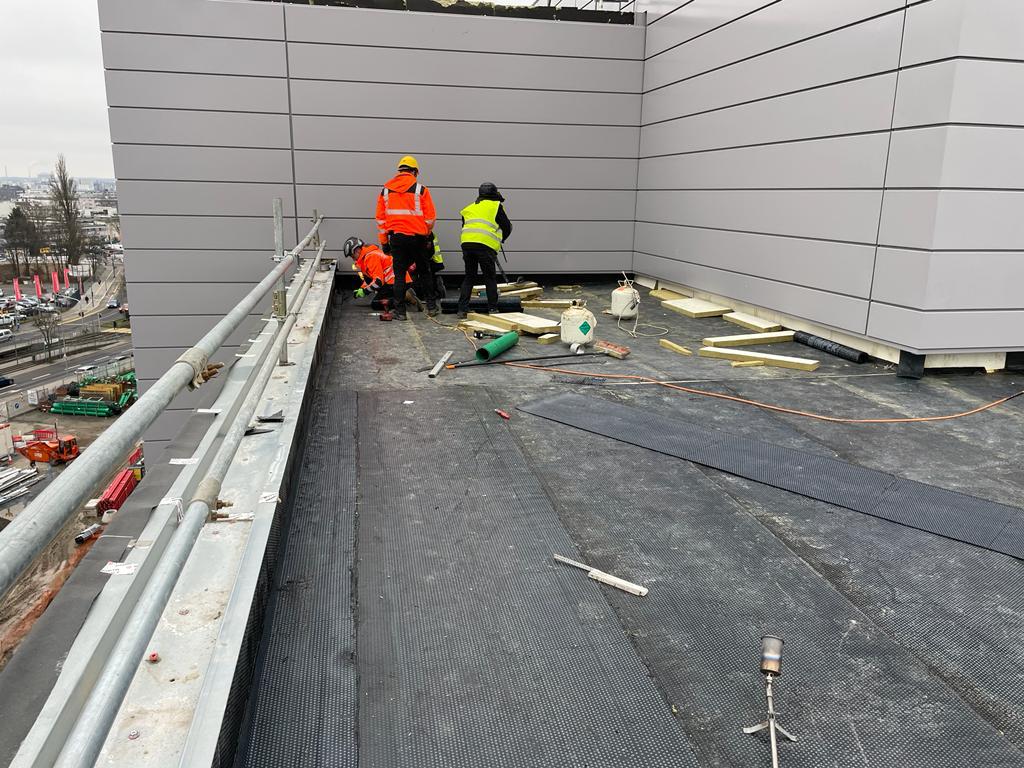
Repairing a flat roof differs from a pitched roof in one essential way: water has nowhere to run off, so every defect works continuously rather than only during rain. This article covers how to recognise that repair is needed, how to trace a leak, when a patch is enough and when repair no longer pays.
What makes flat roofs different
On a pitched roof water is gone in seconds. On a flat roof it sits on the surface until it drains through an outlet or evaporates. Every characteristic challenge follows from that:
- Constant contact with water. The membrane works in a wet environment, and in winter frozen water expands precisely in the seams.
- The leak is not above the stain. Water entering through a defect travels between layers and can appear metres away.
- UV exposure. A flat roof takes the full solar load, with no pitch to reduce the angle of incidence.
- Many details. Parapets, outlets, vents — each one is a potential weak point.
When a flat roof needs repair
The obvious sign is a ceiling stain. But months usually pass before it appears, and by then moisture has already reached the insulation. Earlier indicators:
- Blisters on the surface, especially on the sunny side.
- Cracks visible when the membrane is flexed at parapets.
- Mineral granules shed, exposing black bitumen.
- Lifted or opened seams.
- Puddles that do not dry within a day of rain.
- Ice building at parapets in winter — a sign of heat loss.
The earlier a defect is caught, the cheaper it is. A local patch costs a fraction of replacing saturated insulation, which means stripping the whole build-up.
What you can check yourself before calling anyone
How much will your roof cost?
Enter the roof area and covering type to get an indicative price in a minute. Or call us for an instant answer.
- Free on-site inspection
- Reply within 48 hours
- Warranty up to 20 years
What you can check yourself
Whether the outlets are clear, whether water ponds, whether there are blisters or cracks near the parapets. Photos and a note of when the stain appears — during or after rain — help the roofer find the cause faster.
Before you phone, you can gather information that shortens diagnosis and often reduces cost.
- When does the stain appear? Every rainfall, only heavy rain, or also in dry weather? A stain in dry weather more often means condensation, not a leak.
- Where exactly? Photograph it and mark the position on a plan.
- Do puddles dry? Walk the roof a day after rain.
- What condition are the outlets in? Clear, or ringed with leaves and silt.
- Is the membrane still flexible? Gently flex an edge somewhere inconspicuous. Brittle, cracking material means a local repair will only buy time.
Those five answers tell a roofer more than a long phone call.
1
a common mistake: fixing where it drips, not where water enters
3
the defects most often repaired: blisters, seams, details
1
the foundation of quality: thorough surface preparation
How to trace the leak
The key rule: water did not enter above the stain. After passing a defect it travels between layers, runs with the fall, and comes through wherever the construction is weakest.
So the search starts upslope of the stain, not directly over it, in this order:
- Details. Parapets, outlets, vents, chimneys — roughly 80 % of leaks start here.
- Seams. Especially head laps, where several sheet ends meet.
- Blisters and mechanical damage. Punctures from dropped objects or maintenance traffic.
- The open field. Checked last, because it is the least likely cause.
Where the source stays unclear, a flood test is used: an area is dammed and filled with water while the stain is watched. On larger buildings thermography helps — saturated insulation has different thermal inertia and shows as a clearly defined patch.
What torch-applied repair is, and how it differs
How torch-applied repair differs
In torching, a new bitumen layer is welded to the old one into a single, continuous layer — with no seams or adhesives that separate over time. That is why it lasts longer than patching with sealant or tape.
Torch-applied repair means the damaged area is covered with bituminous membrane whose underside is heated and fused to the existing surface. The result is a continuous bond, not a mechanical patch.
The alternatives:
- Liquid-applied systems. Fast and simple, suited to small details. The downsides are dependence on surface preparation and a shorter life over larger areas.
- Self-adhesive patches. No open flame, so usable where flame is not acceptable. Bond strength is lower than torching.
- Single-ply patches. Used when the covering itself is PVC or TPO — a bituminous patch will not work on those.
Repair methods compared
| Criterion | Torch-applied | Liquid system | Self-adhesive |
|---|---|---|---|
| Bond | Continuous weld | Depends on preparation | Moderate |
| Service life | Longest | Shorter | Moderate |
| Suitable area | Patch to whole roof | Details, small defects | Small areas |
| Open flame | Required | Not required | Not required |
| Over timber deck | Not directly | Yes | Yes |
| Damp surface | No | No | No |
The general rule: the patch must belong to the same family as the existing covering. Bitumen on bitumen, single-ply on single-ply.
Surface preparation: the foundation of a lasting repair
Repairs fail not because the patch was poor but because it was bonded to a badly prepared surface.
- Dryness. The surface must be completely dry. After rain you wait, or apply hot air.
- Cleanliness. Loose granules, silt and moss are removed.
- Debonded material cut back. Unbonded membrane is cut away to a firmly adhered edge.
- Priming. The cleaned area is primed and left to dry fully.
The patch must overlap sound membrane by at least 100 mm on every side of the defect. A patch laid “just over the hole” is the first thing to lift.
Repairing blisters
A blister means air or moisture beneath the membrane and no bond to the substrate. Sealing a blister from above solves nothing — the moisture stays inside.
The correct sequence: cut the blister crosswise, fold back the flaps, dry the void, bond the flaps back down, then apply an overlapping patch. If blisters are numerous and large, this is no longer a local defect but a sign that moisture is present throughout the build-up.
Repairing seams
An opened seam looks minor but lets in more water than almost anything else. The repair depends on the state of the membrane:
- If the membrane is still flexible — the seam is reheated and rewelded, rolled down until a bitumen bead appears.
- If it has gone stiff — reheating will not weld it again. A strip is then bonded over the seam, overlapping both sides.
Repairing details: parapets and outlets
Details are repaired differently from the field, because there the membrane is bent and mechanically loaded.
- Parapets. Check that the membrane is carried up high enough and mechanically secured at the top. A slipped upstand is re-formed, not glued back in place.
- Outlets. The collar is opened and the flange checked. Water must run onto the flange, never under it. A blocked or over-high outlet is a common cause of ponding.
- Vents. Collars are replaced, not smeared with sealant.
Advantages of torch-applied repair
- A continuous bond with the existing covering rather than a mechanical patch.
- Works from a small patch up to a whole roof.
- Compatible with most existing bituminous coverings.
- Can be repeated in the same area if needed later.
- The result is immediate — no curing wait as with liquid systems.
When repair no longer pays
Repair is the right answer while defects stay local. The limit is reached when:
- The insulation is saturated. A patch on top will not dry it. Wet insulation stops performing and becomes a permanent moisture source.
- The membrane cracks when flexed. The bitumen has lost flexibility across the whole roof — the next defect will appear beside the patch.
- Leaks recur in different places. That is wear, not a defect.
- More than two patches in the last three years. Added up, the cost has usually passed that of recovering.
- Water stands because of the fall. Repair does not change the slope.
In those cases consider recovering the roof or a full renovation.
What drives the cost
There is no exact figure online, because repair is priced by scope rather than by area. The cost is driven by:
- Type of defect. Seams, blisters, cracks and details are all costed differently.
- Whether diagnosis is needed. An untraced leak requires investigation work.
- Access. Height, vehicle access, whether the building stays in use.
- Whether the insulation is dry. Saturation changes the scope fundamentally.
- Number of details in the repair zone.
You can estimate the roof area with our slope calculator; an exact quote follows a site inspection.
Flat roof leaking?
We attend, trace the leak and tell you whether a repair is enough. Free inspection.
Torch-applied flat roof repair: 6 steps
Flat roof repair with bituminous membrane: 6 steps
Inspection and leak tracing
The condition of the covering is assessed and details and seams checked. The search starts upslope of the stain. A flood test is used if needed.
Checking the insulation
A control opening or moisture probe establishes whether the insulation is dry. That determines whether a local repair makes sense at all.
Removing damaged membrane
Debonded and damaged material is cut back to a firmly adhered edge. Blisters are cut open and dried out.
Preparation and priming
The area is cleaned of granules and debris, dried and primed. Work waits until the primer is fully dry.
Applying the membrane
A patch or strip is bonded with at least 100 mm overlap on every side of the defect. Edges are rolled down until a bitumen bead appears.
Details and testing
Associated details are renewed, a leak test carried out, and maintenance guidance provided.
Emergency measures: what to do while it is leaking
If water is coming through right now and the weather is wet, a real repair is impossible — torching only works on a dry surface. Temporary measures are still worth taking, because every day of active leaking enlarges the area of saturated insulation.
What you can do before a roofer arrives:
- Protect the room, not the roof. Place a container, move furniture and equipment, and isolate the circuit if water is running near a light fitting.
- Take photographs. An active leak is the most valuable diagnostic information there is — you cannot recreate it later.
- Do not smear sealant on in haste. It will not bond to a wet surface, and the area will have to be cleaned off before the real repair. A hasty fix often makes the job more expensive.
- Do not walk the roof in the rain. Wet bituminous membrane is very slippery, and a damaged area may not take the load.
The professional temporary measure is mechanically weighted sheeting or a self-adhesive strip over a surface dried as far as possible. That holds the water for a few days until conditions allow proper work.
Warranty after a repair: what to ask
A repair warranty differs from a new-roof warranty, and that is reasonable — a contractor cannot answer for a covering they did not install. But the terms should be clear up front.
Questions worth asking before signing:
- What does the warranty cover — only the repaired area, or the surrounding field as well?
- Does it cover both material and workmanship, or only one?
- What happens if a leak reappears elsewhere? This is common on an ageing roof and the most frequent source of disputes.
- Was the insulation checked for moisture? If not, the contractor cannot guarantee the outcome, because they do not know what they covered.
An honest answer is sometimes “we guarantee this area, but not the whole roof, because the covering is already worn”. That answer is worth more than a broadly worded promise that turns out to be unenforceable.
Avoiding the next repair
Most repeat repairs come not from the material but from a lack of maintenance. The minimum programme:
- Clear outlets twice a year — spring and autumn.
- Inspect details after severe storms.
- Watch for new puddles: a new one means the fall has changed through structural movement or insulation settlement.
- Do not let moss or plants establish — roots damage the membrane.
Related reading
- Bituminous roof repair: defects and solutions
- Flat roof repair cost
- Bituminous membrane installation
- Recovering an old flat roof
Frequently asked questions
Water did not enter above the stain — it travels between layers. The search starts upslope of the stain, checking details, seams and blisters. Where the source stays unclear, a flood test or thermography is used.
No. Torch-applied repair needs a completely dry surface — moisture under the patch turns to vapour and lifts it. Temporary protection can be applied in an emergency, with the real repair done once dry.
A properly executed patch on a still-flexible membrane lasts effectively as long as the surrounding covering. If that covering is already brittle, the next defect will appear beside the patch — a sign that recovering is due.
No. A blister means trapped air or moisture beneath the membrane. Sealing from above leaves the moisture inside. The correct sequence is to cut crosswise, dry the void, bond the flaps back and only then apply an overlapping patch.
When the insulation is saturated, the membrane cracks when flexed, leaks recur in different places, or more than two patches have been made in three years. At that point repair costs approach recovering, and the result stays temporary.
No. The patch must be the same family as the existing covering: bitumen on bitumen, single-ply on single-ply. Incompatible materials will not bond and the patch lifts.